Who doesn’t love being an artist? This artistic photo editing process converts the image into funny and spectacular illustrations. A wide range of illustrations is designed for use in media, posters, flyers, books, magazines, teaching materials, animations, games, and films.
(For more information on illustration concepts read at Illustrations)
Now let us take a ride in creating beautiful illustrations using lighting effects and color correction. Select an image of your own either use your photographs or sketch it out (your choice). You can also purchase eye-catching free images at Shutterstock, Pixabay, iStock or other.
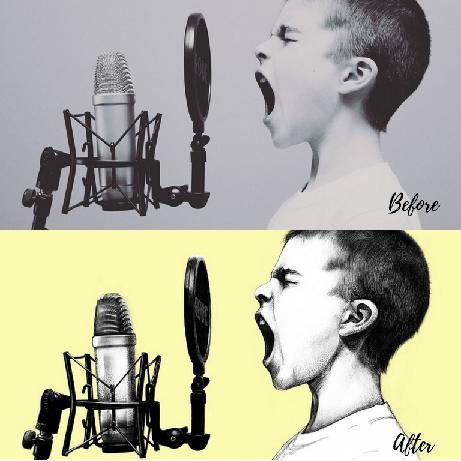
To start with select a photo, remove imperfections, enhance the details and make it black and white. Let us go through the process step by step for clear understanding.
Step 1:
- Cut the desired image frame or part from its background and build a composition around it.
- Have knowledge of your image composition with rough sketches. One can also hand draw desired sketches using pencil or ink.
- Now printout multiple copies of the selected image to sketch over.
- For the process of handling the next step, compile a selection of source as a component for the rest of the selected image. Select random high-resolution components and textures for extra added image enhancement.
Step 2:
- Once you are done on planning and imaging how the end product should look like, open the image in Histogram window (Window> Histogram) and check out the total range of your image.
- Now set the channel to RGB.
- You can view highlights at the right side of histogram preceded by the shadow at the left side.
- If in case your image is underexposed, fix it by using levels.
Step 3:
- Enhance your image by increasing highlights, add levels adjustment (Image>Adjustments>Levels) or else you can use adjustment layers.
- To redistribute the brightness which leads in better distribution of tonal values, move the right slider to the edge of the graph and click OK.
- The best part after this process is to turn the image to Black and White. (Select image>Adjustment>Black & White) or add a black and white adjustment layer.
- After this process adjusts the conversion using a color slider. Auto button present chooses a greyscale mix based on the selection of the image.
- You can also add other effects by selecting Tint, which creates a variety of sepia effects.
- Now give a very quick makeover to the image.
Step 4:
- For softening, duplicate the image on to the fresh new layer and on the top layer apply Smart Blur option (Filter>Blur>Smart Blur).
- Now increase the sharpness of the image that is present in the bottom layer.
- Apply the unsharp mask effect for further editing (Filter>Sharpen>Unsharp Image).
- Using an unsharp mask helps in finding high contrast neighboring pixels and increases the contrast.
- Make sure you do not over sharp the image that creates a halo effect.
Step 5:
- Now go to the Layer>Flatten image and the image is ready to be cropped or cut.
- Select the image either by using the magic wand tool or quick selection tool.
- At this point in the process point for an accurate path. Once the path is complete, now go to the layer> layer mask>hide all.
- Once you are done choosing the path open the path panel (Window>Path).
- Click on load Path and fill white (Shift F5).
- To view how the black represents mask by clicking on the channel window (Window>Channel).
Step 6:
- Now open the selected background in Photoshop and drag this over onto the image. This can be done by moving the image to the bottom of the layer stack.
- To skew the background and match the perspective of the image, go to edit> free transform (Cmd/Ctrl/T).
- Place the image at the desired position by holding down Shift+Cmd+Ctrl and drag to the position.
- Now bring other elements into the image by importing all the parts of other images.
Step 7:
- After this step apply hue and saturation adjustment (Image>Adjustment>Hue/Saturation).
- Select view>Gamut Warning (CMD/Crtl+Shift+Y) in order to check out the colors are in the range of your system.
- Reduce the saturation if it is out of range.
You will encounter to the end of converting your image into an illustration after the above process. Add some basic effects in case you want to boost up your image. You can also convert your hand-drawn images into an illustration by scanning it down and editing in Photoshop.
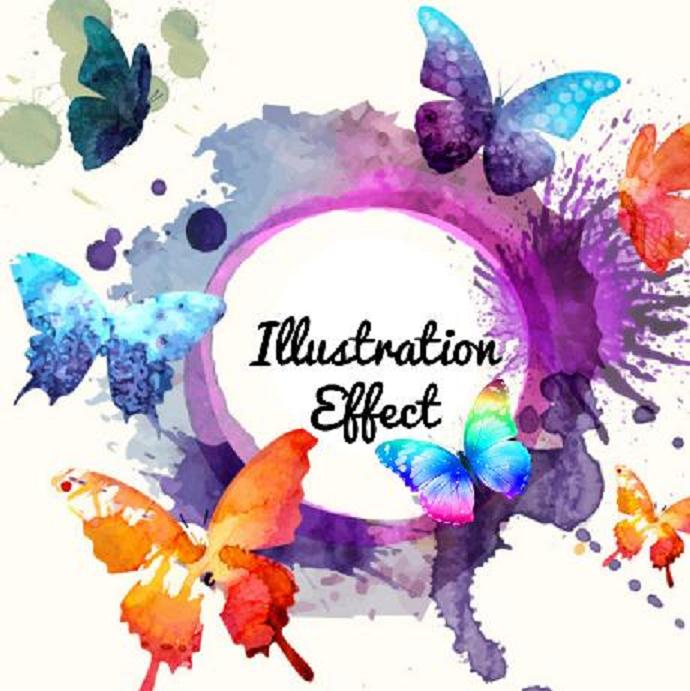
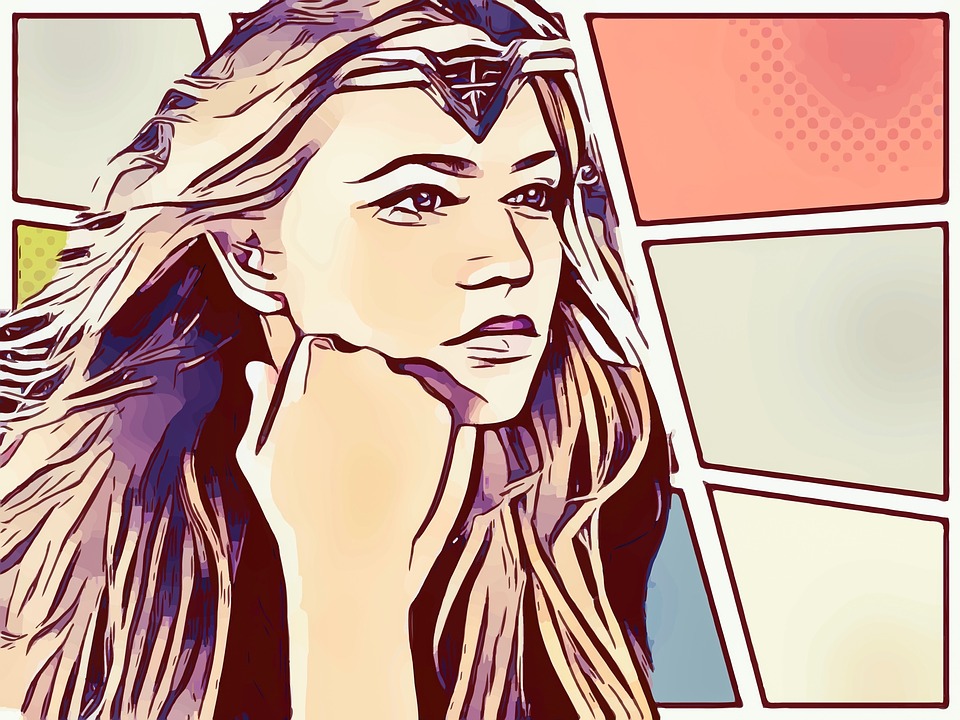
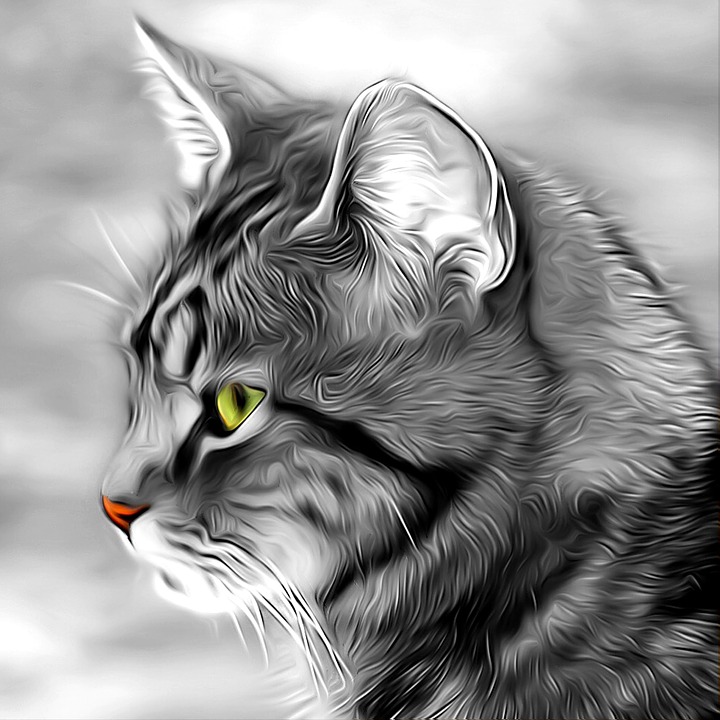
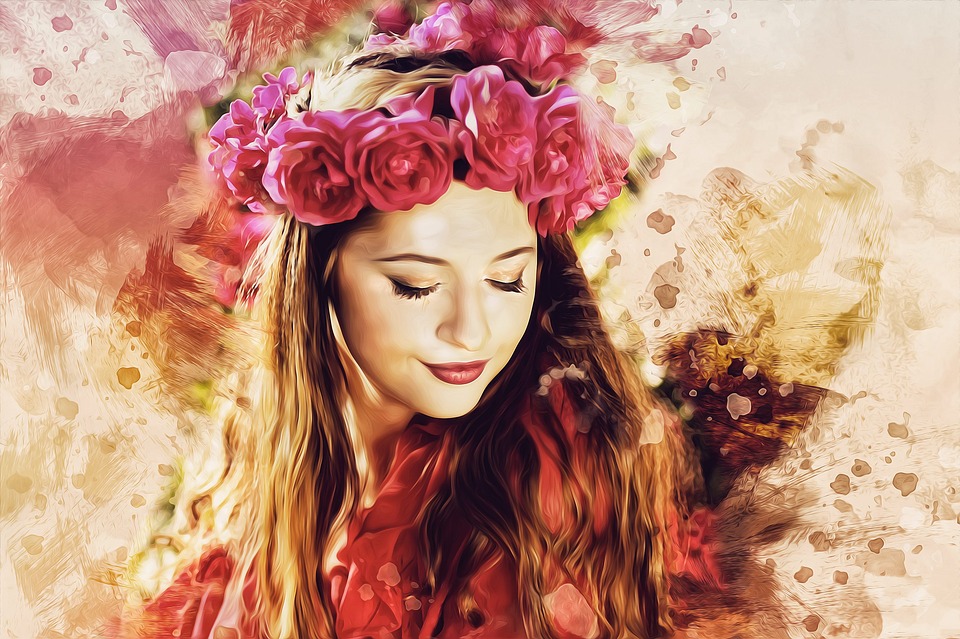
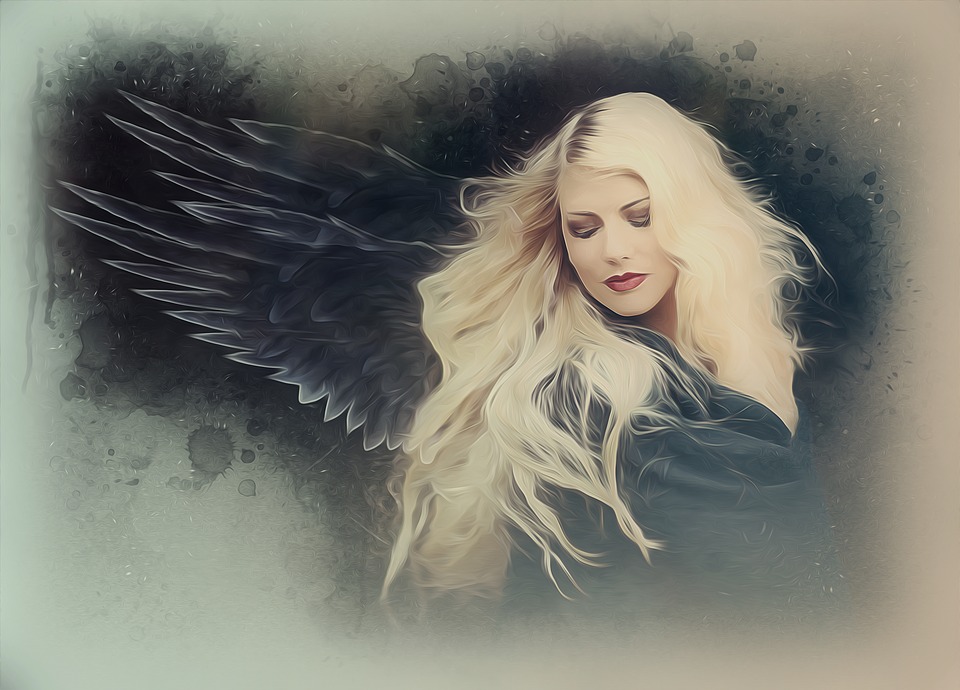
Let’s see to some of the illustrations;
An artist never stops creating innovative strikes in his sketch or images. Trying out different out of box concepts always help in exploring fabulous photo effects. Make hundreds of mistakes to create the final stunning image. Illustration photo effects help you in widening up your mind and explore numerous innovations in photography.