Photoshop is a creative tool for beautifying photos. Effective editing takes your photographs to another level, is it not? Photo editing is an art form and is not a cup of tea for everyone. In wide range of photo editing process, mixed ink sketch effect has its own way of styling photographs.
Sketch is nothing but a freehand drawing which is incomplete. Ink sketch adds strokes of effective lines that make the simple image look amazing and advanced. In Photoshop sketch option allows you to build expressive images with the use of tools like pens, markers, pencils and watercolor brushes. These tools help in creating innovative textures and blending effects which you obtain while experiment with pen and paper.
Mixed ink sketch effects are designed to provide magic and remarkable tone to your photographs. This editing is perfect for photographers and graphic designers who create wonders out of plane images.
Now let us learn something about creating stunning ink sketch effect to your photographs. Here are some simple steps that aid you in learning ink sketch effect in Photoshop. Let’s start then,
- The very first step is to choose a high quality image with a resolution of nearly 3000 to 6000 pixels.
- You can either adjust the resolution by setting the height and width of an image.
- Now go to image menu, select mode, select RGB color and 8 bit channel.
- After that go to panel properties and select Add copy or copy to layer and group option.
- For editing the background; Go to layer option, double-click Background in the Layers panel, or choose Layer > New > Layer from Background.
- Next go to edit menu select panels, next select brushes> load> select from the window > ink sketch brushes> done
- Now go to Windows>Action>Panel> load download>Select program file from the window.
- Click on file which leads to the type of Photoshop you are using, select one may be CS6 CC or other versions.
- Select ink sketch action file.
- After this create a new layer>name the area> and paint the required area.
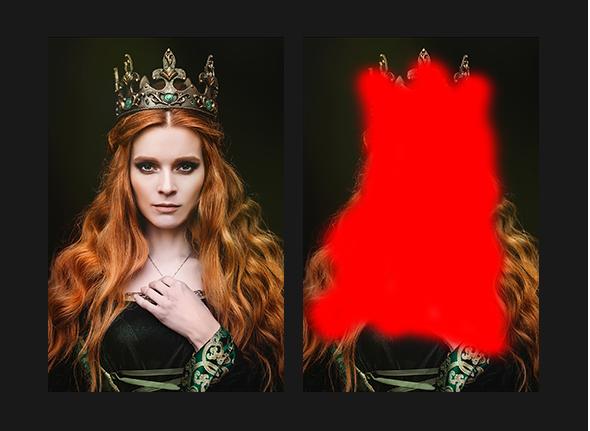
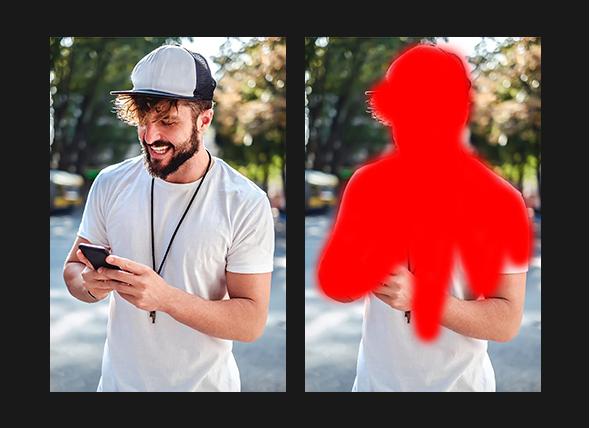
- You can use lasso tool or magic wand tool to select your picture.
- Select the required area.
- Now use the paint bucket tool to fill the color in the selected area.
- Choose the color of your choice.
- Erase the unwanted area or crop for the size which you prefer.
- Last but not the least now go to window option> Action>select the brush > from the action menu select the ink sketch action file.
- From the drop down menu select the effect of your choice and click on the play button.
- Additional effects can be done using other editing options.
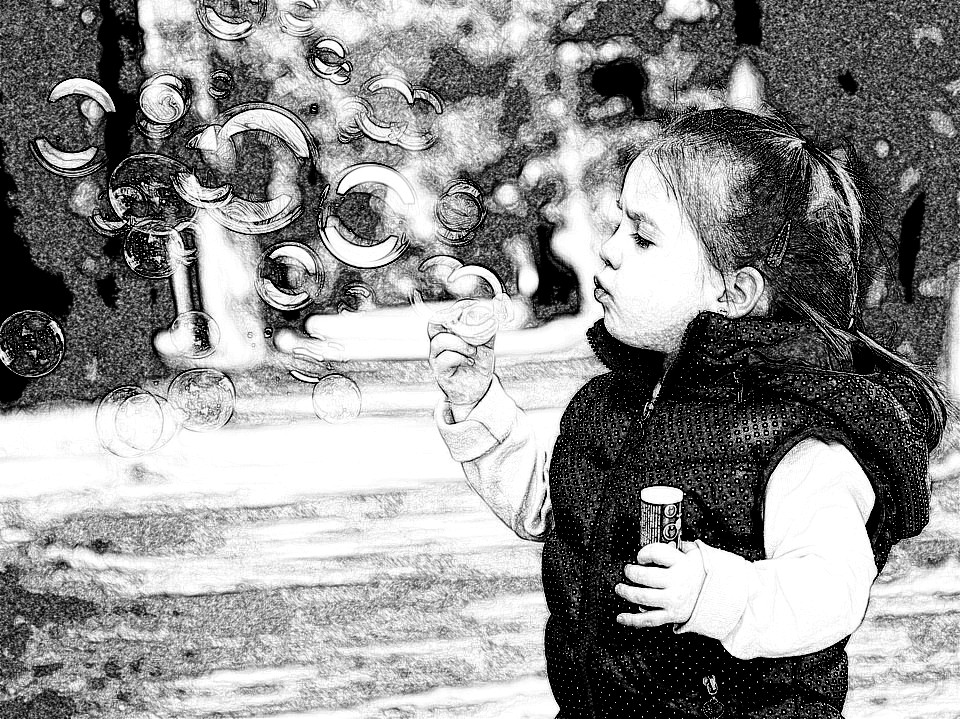
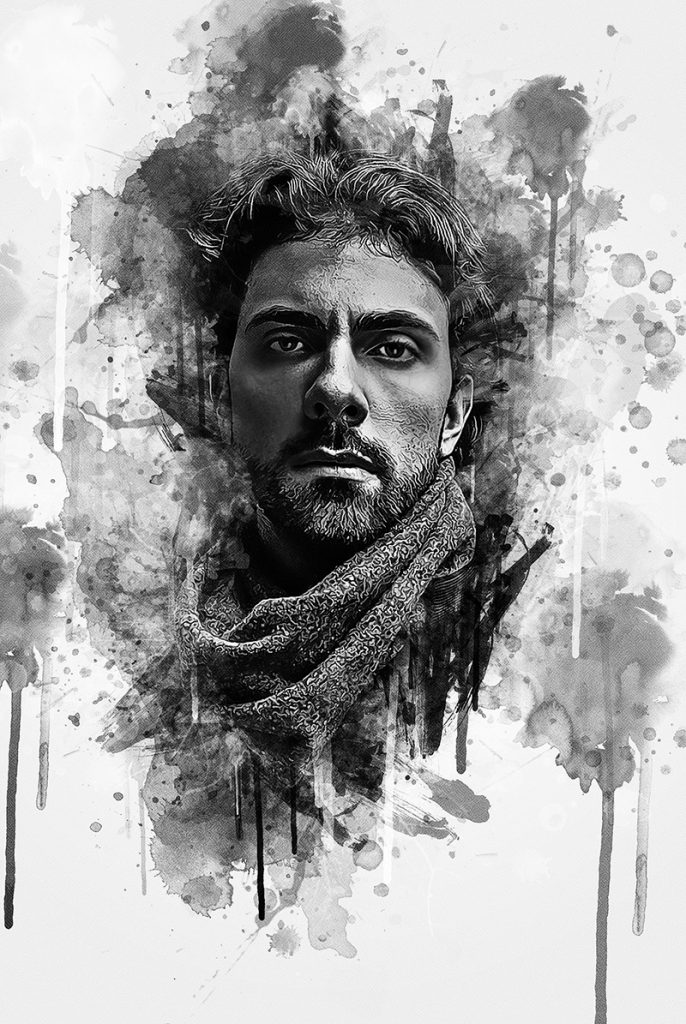
Here are some examples that help you in getting clear idea about the ink sketch effect. Why be normal? Add creativity skill in your editing!


Hope this article helped you in creating sketch effects. At a start editing process looks tedious; practice makes you a better editor. Make mistakes and reach the peak of perfection.
Enjoy being creative and explore Photoshop to know many more interesting photo effects. Now go on and try it by yourself!