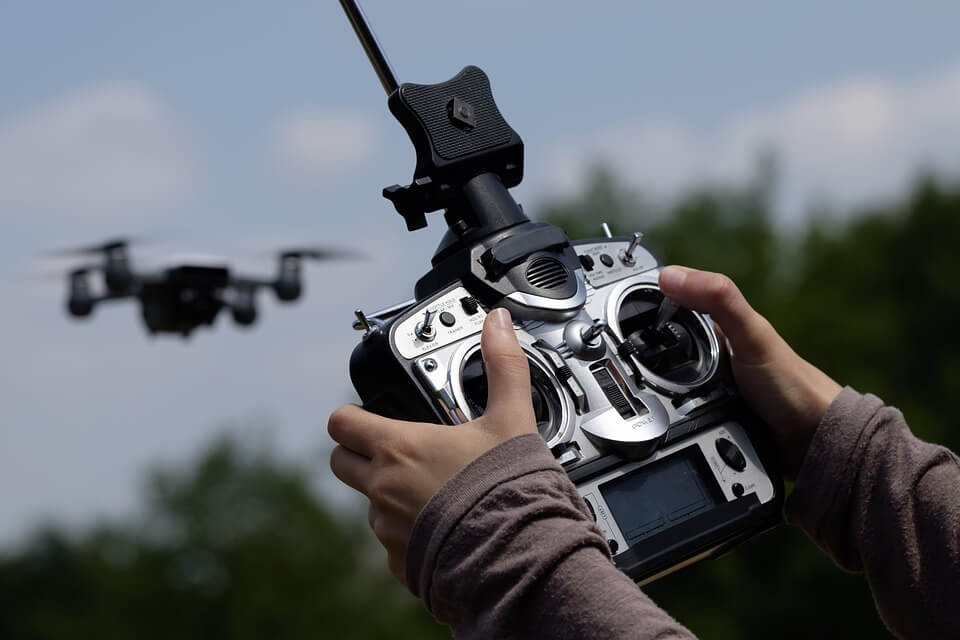
Controlling and adjusting drone are difficult at the initial stage. Make it as an everyday hobby, so that you get lots of practice in flying the drone.
The left stick is throttle (up/down) and yaw (left/right). The right stick is pitch and roll. Always focus on one throttle and then mix in new elements one at a time.
Cases like drone getting flown out of view, difficulties in landing, getting hit by wind and other scenario may be faced. Check your drone before flying it.
Practice makes man perfect! Yes all that you need is to spend more time exploring exciting settings and capturing ability of the drone.
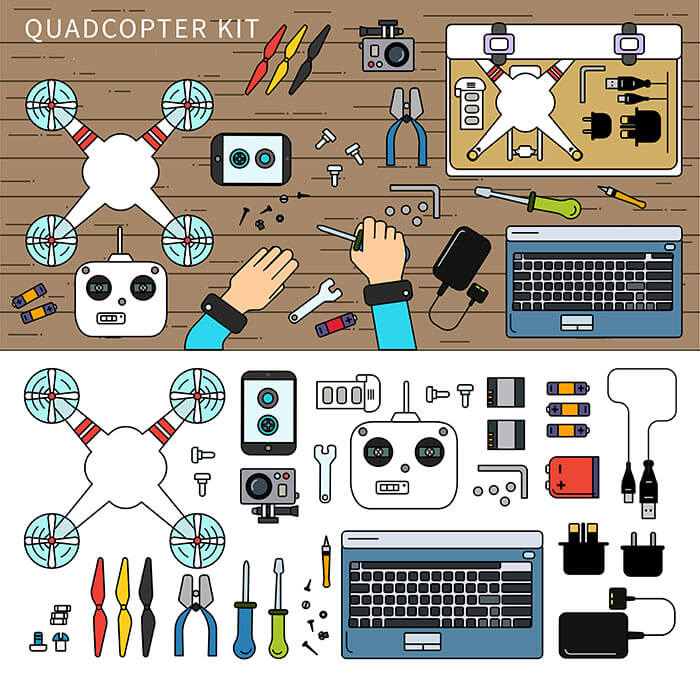
2. Apt Equipment
3. Choose the Best Subject
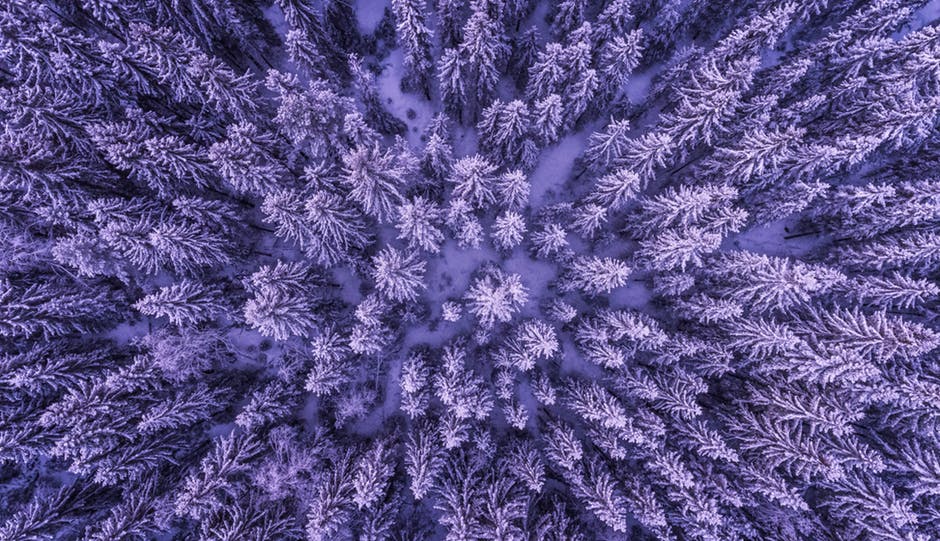
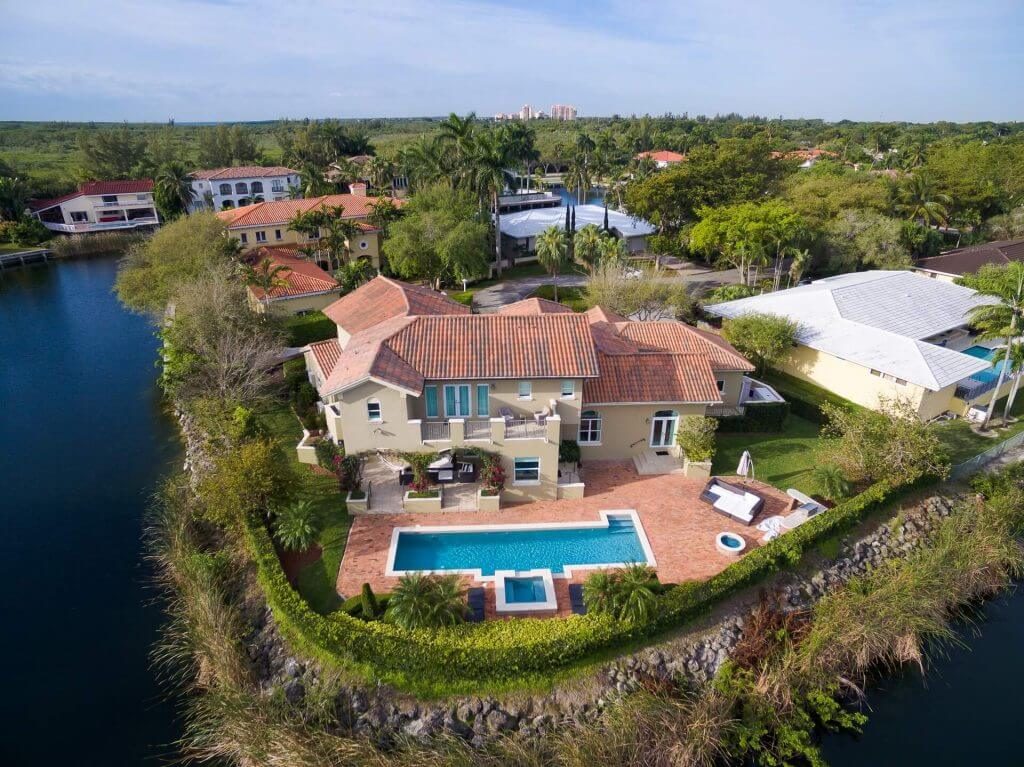
Choice of place to be shot and the capture content counts a lot in photography. Choose places like landscapes, plot of land, thick forest, mountain peak and other wonders in nature.
For attractive drone videography set for certain angle and focus at the center of your subjects. Experiment with different angles and try to build up a storytelling videography.
Pictures shot at ground level and higher angle seem to be less interesting. Set your drone for perfect angles so that you can present visually impact photography.
4. Usage of Grids & Strips
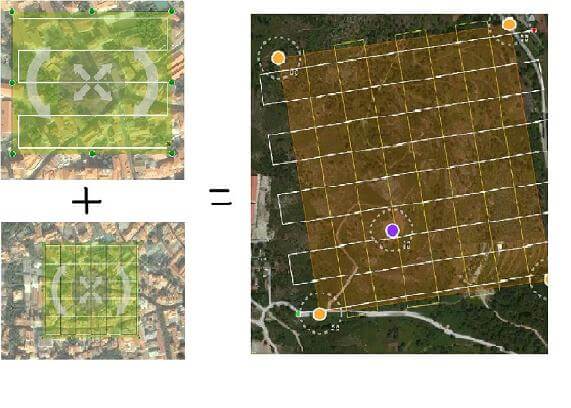
Check for the settings of your drone which help you in getting better images. These grids and stripes assist you in composing the shots, usage of rule of thirds and to get perfect framing. Make sure you turn on the zebra line setting to protect your image from being over bright or overexposed. To obtain focused and high prime drone images, make use of proper grids and stripes.
5. Capture with RAW & Color Profile
Colour adjustment plays a major role in getting an exceptional image. In your Drone check for colour profile settings, where you will find number of colour profiles. Select D-Log or D-Cinelike, this will help in changing the colour intensity but rises dynamic range for post-processing editing. This gives clear picture and maximum amount of subject information during editing your image or video. As a drawback, this setting makes the image dull and looks washed-out.
Next is the RAW mode, which is a file format that shoots all the tiny details that are recorded by sensor when you take an image. Here no information is compressed and hence they produce high quality images. This format is advantageous than using a JPEG file format.
“Today everything exists to end in a photograph” Choose the best setting to capture a visually impact image.
6. AEB and ND Filters

Number of issues counters in drone photography. Be thankful to DJI, since it has the AEB button (Auto Exposure Bracketing) which aid in getting right levels in your shot. It takes sequential photos with different exposure so that you can select the one you require and edit to get a HDR image.
The ND Filters (Neutral Density Filter) is the primary need in your drone photography. This will help you shoot in sunny conditions. The ND filters absorbs the light while preserving and hence acts as Raybans for your drone. Using ND filters you can take out extra light and can control exposure of your photos. They are available in various intensities, most used one are ND8 and ND16 filters.
You can use editing software like Adobe Lightroom to get best images.
As they say “Your first 10000 photographs are your worst”- Henri Cartier, always try practicing your best until you get a standout image. Make drone as a part of your schedule and take time in exploring the wide nature. Your next post in social media may be the one you clicked!